
Please use my previous tutorial to make 3 Hybrid Roses:
* Use black 60 gram Carte Fini crepe paper #340 for the 2 black Roses
* Use red 60 gram Carte Fini crepe paper #319 for the 1 red Rose
In this tutorial, we are going to make 2 Orchids; 1 large and 1 small.
Ok...lets get started...
These are the items you need for this tutorial:
* Tacky glue
* Black 180 gram Carte Fini crepe paper #602
* 22 gauge wire
* Scissors
* Paper molding pen
* Glue gun
* Pliers

Lets make the Petals first. Cut 15 inches of paper from your black crepe paper roll. Then cut 3 inches across the grain and fold your paper 4 times and cut into separate squares:


Next, place 2 of the squares on top of each other and cut from bottom left corner to the top right hand corner as I have demonstrated in the picture (Important - Keep different triangle cuts separate from each other):

Now perform the same process with the other 2 squares and cut from the bottom right to the top left hand corner:

Now take one triangle from the pile that you have cut from right to left and one triangle from the pile you've cut from left to right corner as I have done:


Now add a thin line of the tacky glue to the edge of the triangle and fix the other triangle on top of it to form a chevron square. Allow it to dry. Then open the sides to create a perfect chevron square. Repeat this process with all of your triangles until you have three chevron squares:


Next, cut from the bottom of the square to the top with the lines opening outward. Cut the second square the same way. Then shape your Orchid Petal:

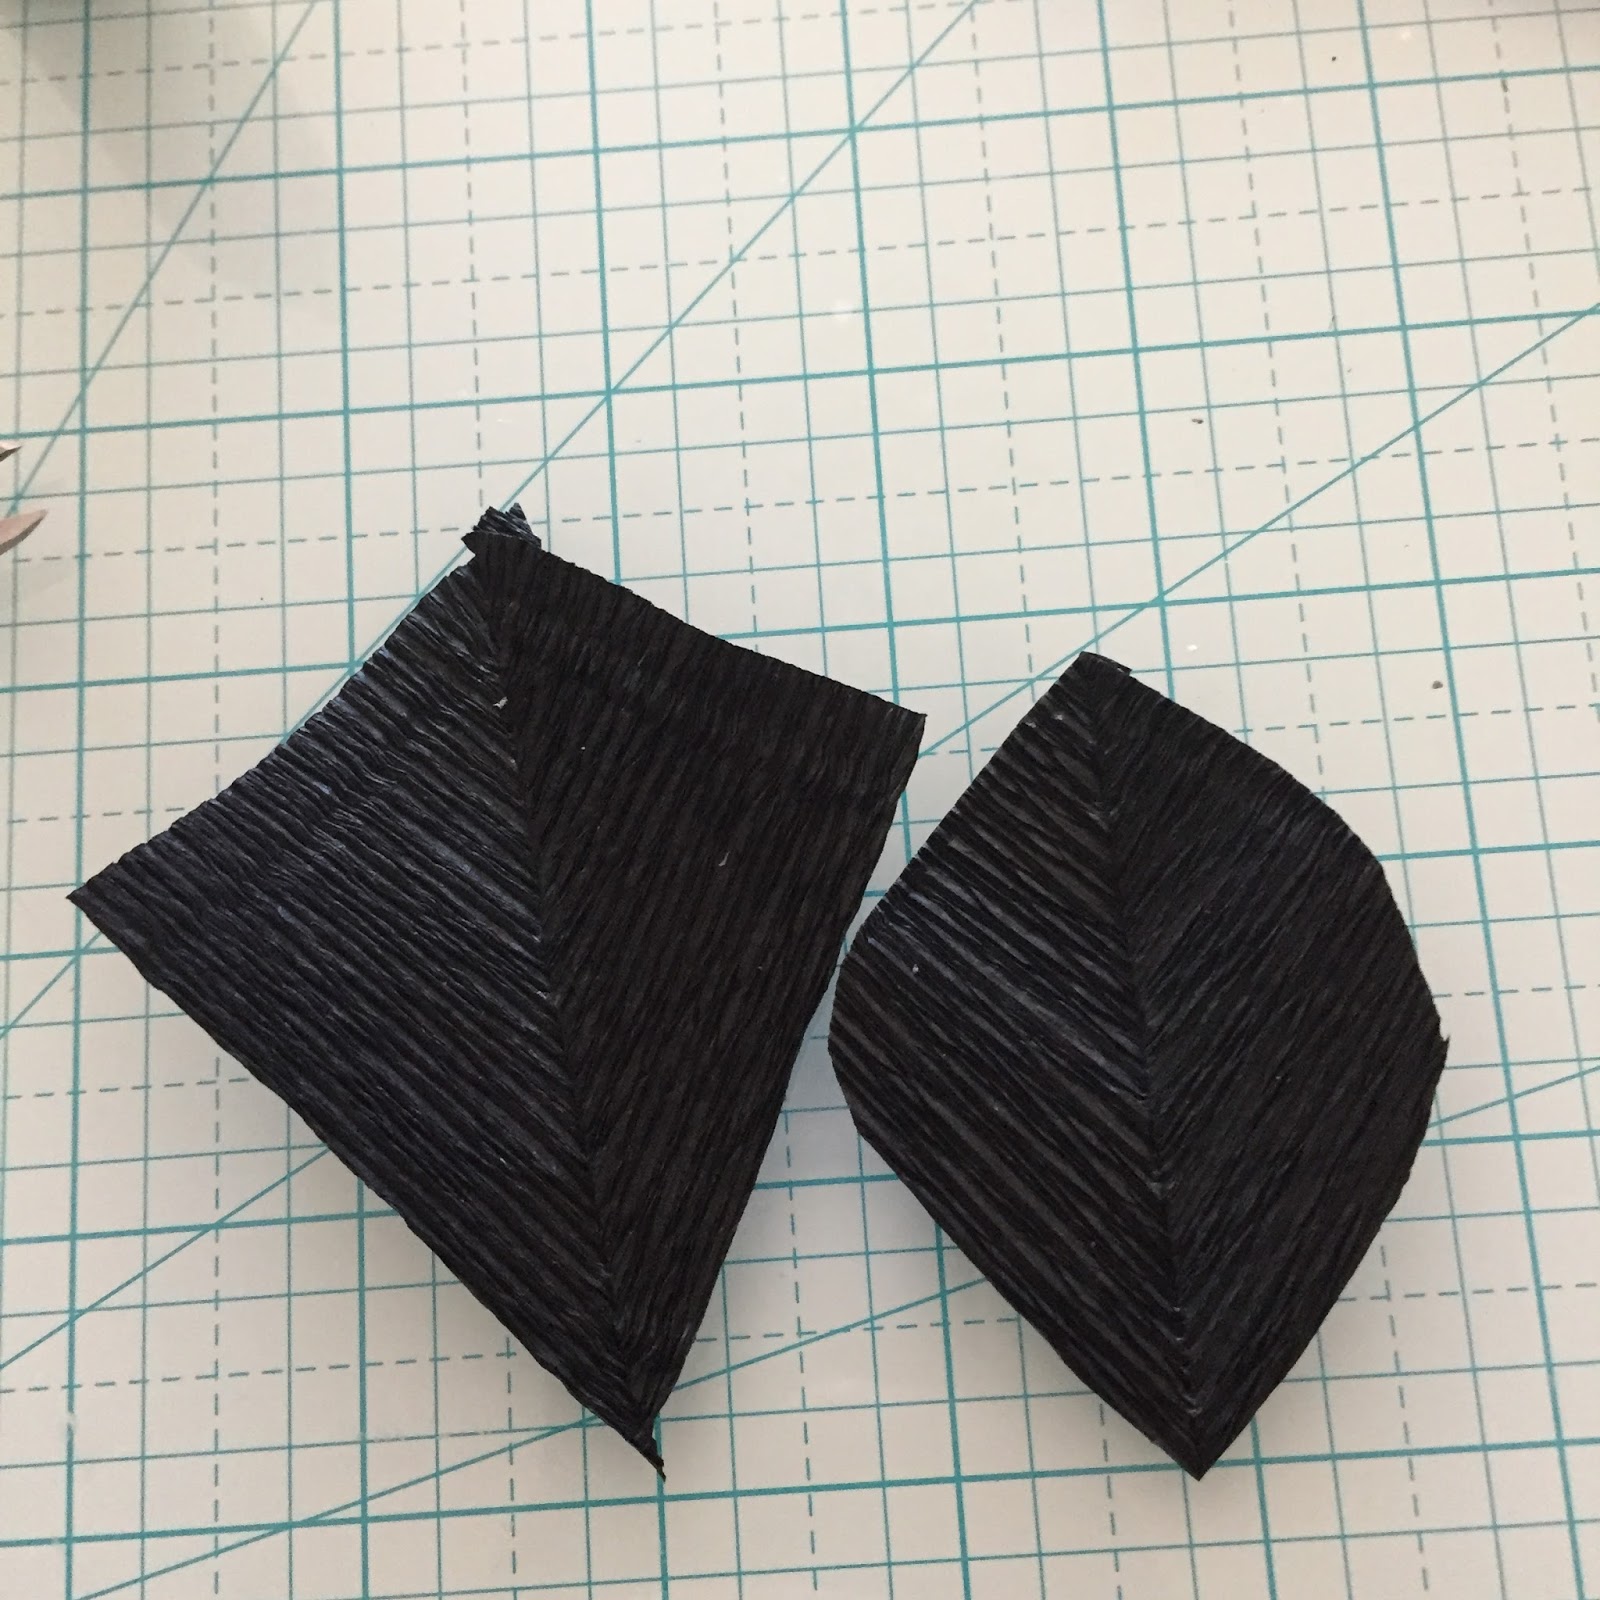


Lets make the Lip. Use your third triangle and instead of making a square, this time take your scissors and cut from bottom to the top part of the triangle shaping it like ridges:


Now with your index finger and your thumb pull and shape it from the seam to the ridges to form a beautiful shape like shown below:


Lets make the Sepals. Cut out 3-1/2 inches of paper across the grain. Fold your paper 4 times and cut out the 4th part of your Orchid. You should have 6 pieces altogether:


Next cut about 26 inches of the 22 gauge wire. Then cut a ribbon piece about 1/2 of an inch from your roll and place a dot of hot glue on one side of the paper ribbon and wrap around the wire. Once you reach the bottom of the wire, place another dot of hot glue to the end of the paper and hold until cooled. Now cut the wire in to 5 even sections:


We are going to use 3 wires to make the Petals. Take 2 of the Petals and put dots of tacky glue on one side of the paper and place the wire in the middle of the Petal. Make sure that there is an approximate 3 inch stem. Next, place the second Petal on top of the original petal by sandwiching the wire in between the 2 Petals. Hold firmly and then shape them as demonstrated in the picture. Repeat this process with the other sets of Petals until you have 3 sets:


In order to make the Throat of your orchid, you need to cut 2 tear shapes from the paper; one approximately 1/2 of an inch in diameter and one approximately 1/4 of an inch in diameter. Use your paper molding pen to form them into a cup:


It is time to put all the pieces together to make our Orchid. Take the first 2 Petals and twist the stems together so that they are firmly attached to one another. The Petals should be facing out and opposite of each other as shown in the picture:


Now take your first Sepal and place it in between the 2 Petals and tie the wire to the petal wires and slightly bend the Sepal back to form it in place:


Next, place the 2nd and 3rd Sepals and place them next to the side of each Petal as shown in the picture and twist the stems around the existing wires:


Lets attach the Lip. Place a dot of hot glue where the seams meet and attach the Lip as shown in the picture. Hold it firmly until the glue cools off:


The final step is to attach the 2 pieces of the Throat. Place a dot of hot glue on top of the Throat as if it is a drop and take the larger cupped piece of the Throat and fix it to the top of the lip as shown in the picture:


We are almost done!!! Place a small dot of hot glue on top of the Throat and take the smaller cupped piece of the Throat and affix it to the inside of the bigger Throat just like it is shown here:


Congratulations!!! You just made your first Orchid!!! Now use the same process to make the smaller Orchid. Then, you just need to put the Roses and Orchids together and attach them to the headband:


I hope you enjoyed this tutorial. I would love to hear your feedback and suggestions regarding my tutorials. Please visit Royas Creations to view some of my creations and visit Carte Fini for the best Italian crepe paper.
All the best,
Roya