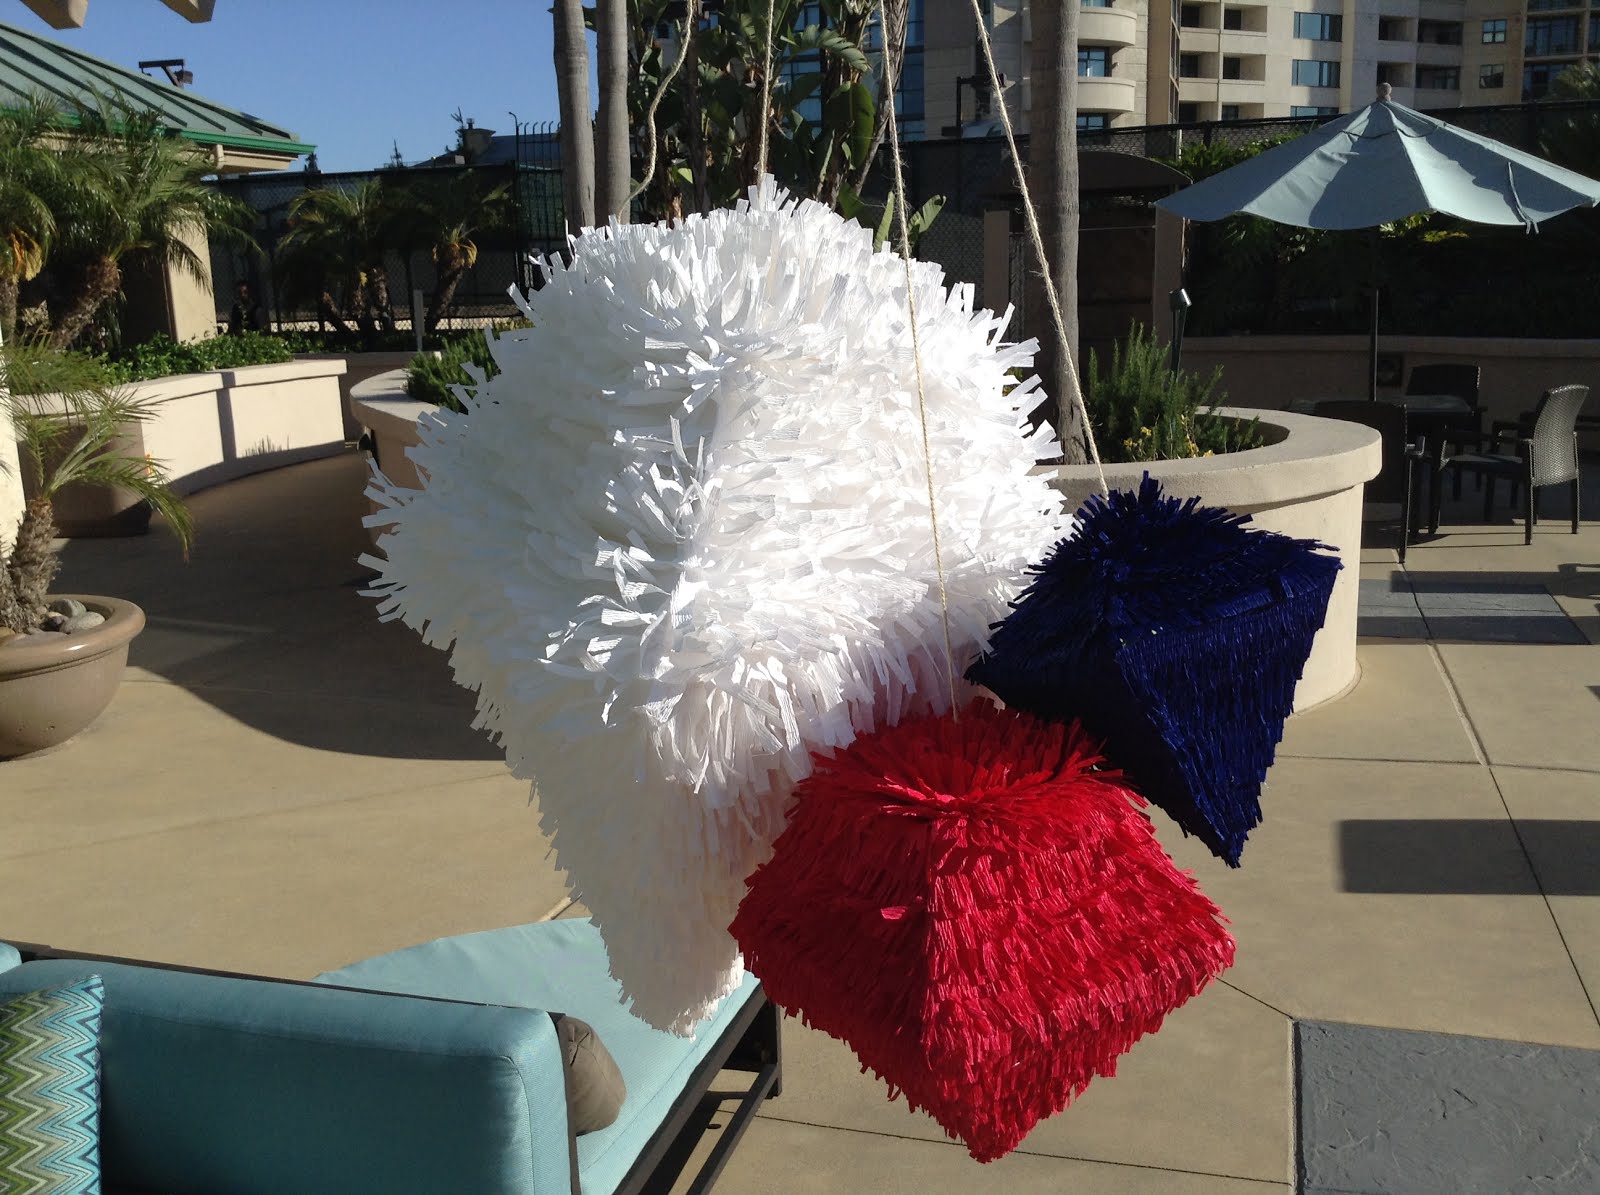
Hi everyone,
Happy 4th of July!!! Although in this tutorial, I am using red, white and blue, you can use this design with a variety of colors for Birthdays, baby or bridal showers or any other special occasion. You can even make your own piñata for a birthday party. Take a look at Carte Fini catalog and choose any crape paper colors that you desire.
Ok...here we go...
Here are the supplies that you need for this tutorial:
*180 gram - Carte Fini crape paper - 2 rolls of each - I am using Midnight Blue #555, Crimson #582 and Bright White #600 for this tutorial
*Scissors
*Glue Gun
*15 card stock 8.5"X11" and 3 card stocks 24"x36"
*Scotch tape
*Ruler
*A pen
*Burlap rope
Lets get started!!! First, you need to make the diamond shape boxes. Grab five 8.5"X11" card stock papers. Take one card stock paper and place it in front you with the length going from right to left. Then use your ruler to measure 7" from left to right on top portion of the paper along the length and mark it with your pen:

Then do the exact measurement and mark it with your pen on the bottom of the paper:

Next, use your pen to draw a line connection the 2 markings you just made:

Now bend the paper slightly along the line you just drew:

The width of your paper is 8-1/2 inches so using your ruler, you need to mark the half way point at 4-1/4 inches on both sides along the width of the paper:


Now place the paper in front of you with the width going from left to right with the 7" measurement on the bottom. Then use your ruler to draw a line from the 7 inch measurements to the 4-1/4 inch measurement at the bottom of the page creating a triangular design:


Next turn the paper around with the 4" measurement on the bottom toward you. Then measure 2" from each side of your previous marking so you end up with 4" in the middle:


Now draw 2 lines to these new contact points as shown in the picture below:


Ok!!! We are ready to use our scissors to make the cuts along the lines as shown below:


Complete the same process with 3 more 8.5"X11" card stock paper so you end up with 4 pieces of what we just made.
Next we need to make the top for our diamond shape box. Take a 8.5"X11" card stock and cut a 4" square:


Then use the Scotch Tape to connect the 4" side of the diamonds to the 4" square as shown below:


Now start Scotch taping the rest of the edges of the diamond box as shown in the picture:


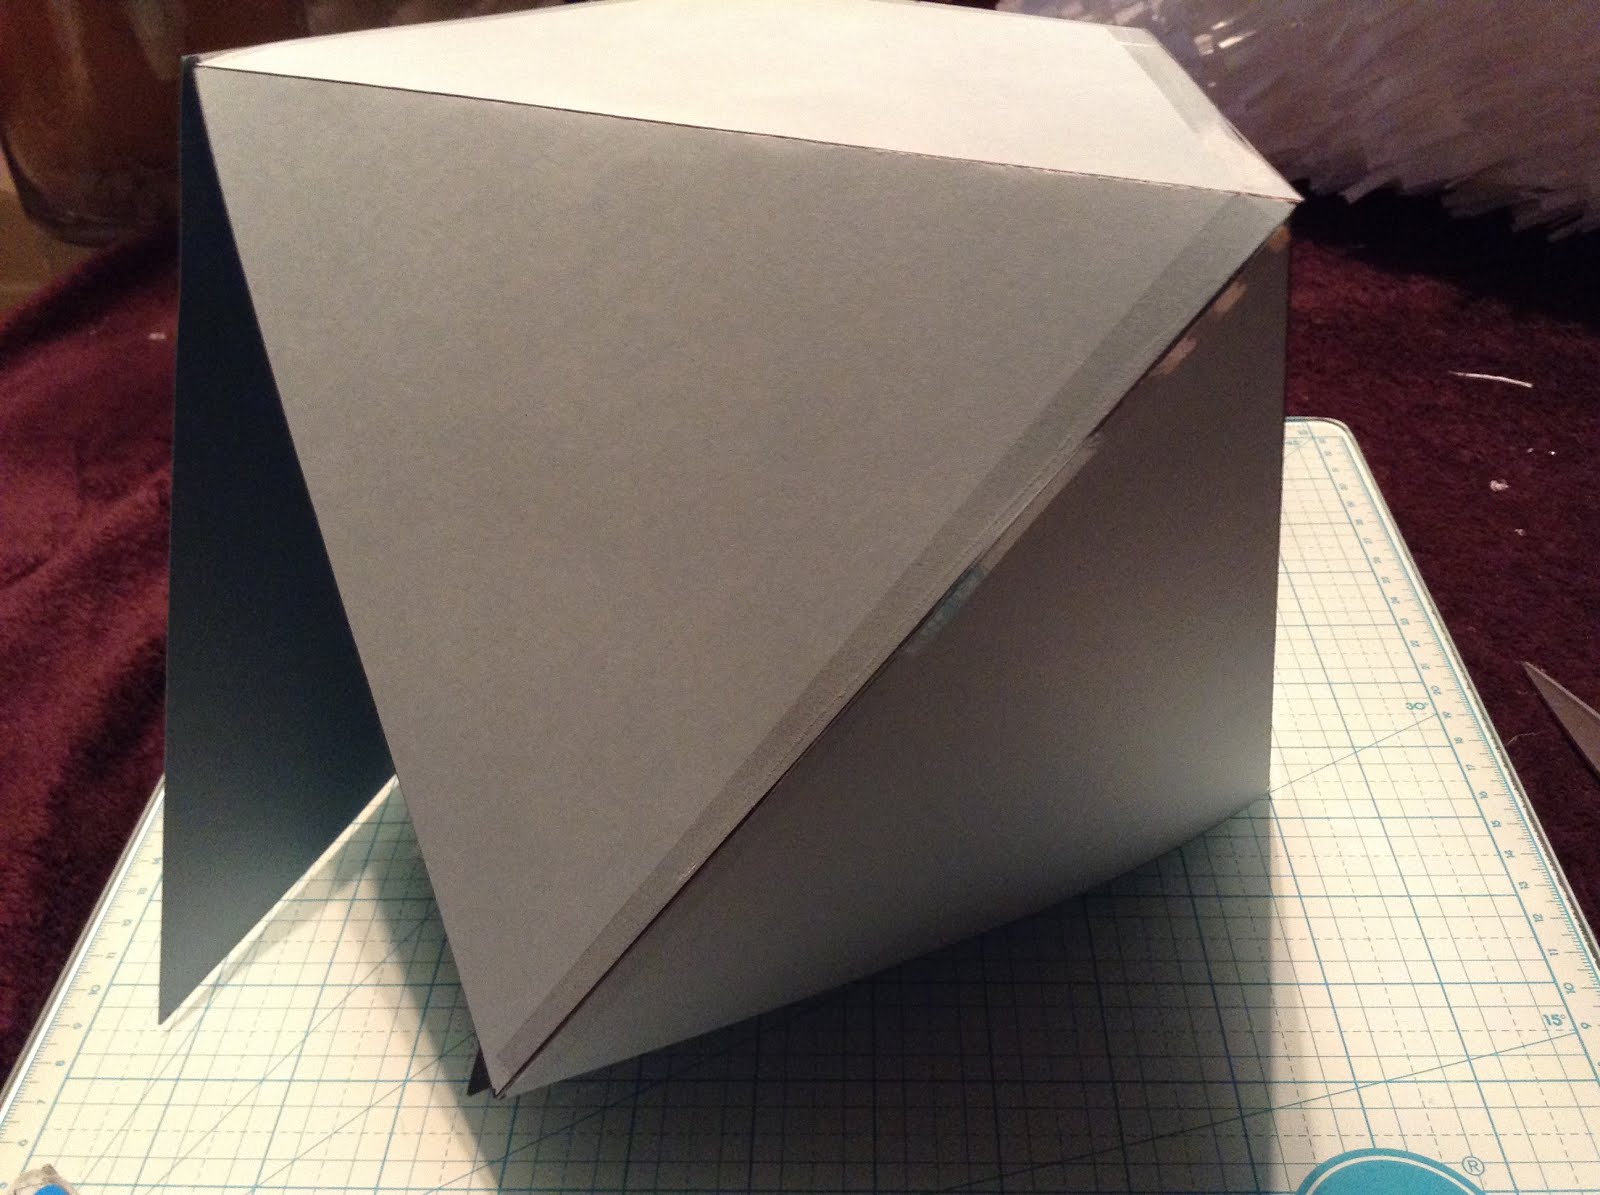
If you are making a piñata, this is the time to place the candy inside the diamond box before the entire box is taped:

Once the candy is placed in the box, then use the Scotch tape to close up the last 2 edges. Congratulations!!! You just made your first Diamond box. You can use the same tutorial above to make different sizes of the diamond boxes by using a smaller or larger card stock:

Are you ready to decorate your boxes?! Lets get started!!!
 Roll out 11 inches of the crepe paper and cut it along the with of the roll. Then make 1-1/4 inch cuts across the grain in order to end up with sixteen 1-1/4"X11" paper strips:
Next, you need to make 3/4" cuts along the width of your paper strip:

The next step is to cut 8 pieces off of the strip you just made for the bottom of the diamond shaped box and glue them to the tip as shown in the picture:

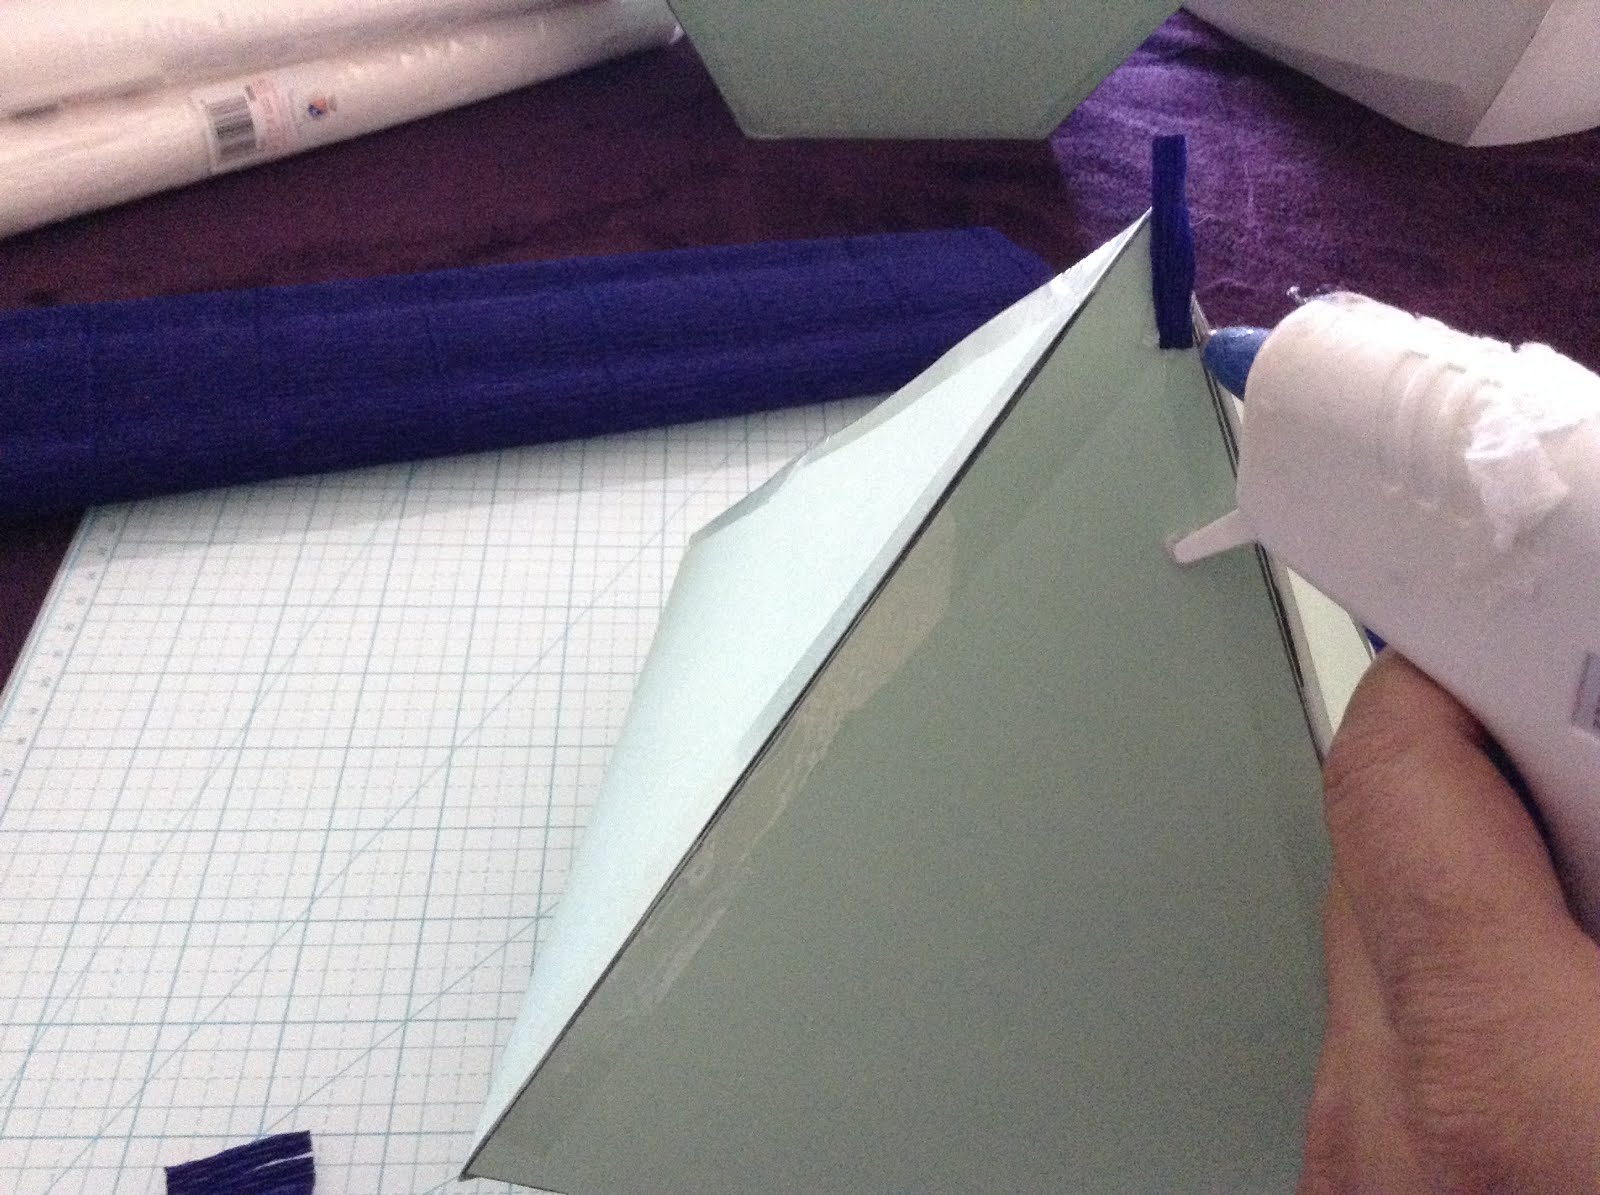
Then work your way around the same area by adding more strips overlapping the previous crepe paper that you glued to the bottom of the diamond shaped box:

Now start cutting longer strips and glue them to the diamond box working your way up to the top as shown below:


Continue this process until the entire bottom of the box is covered:


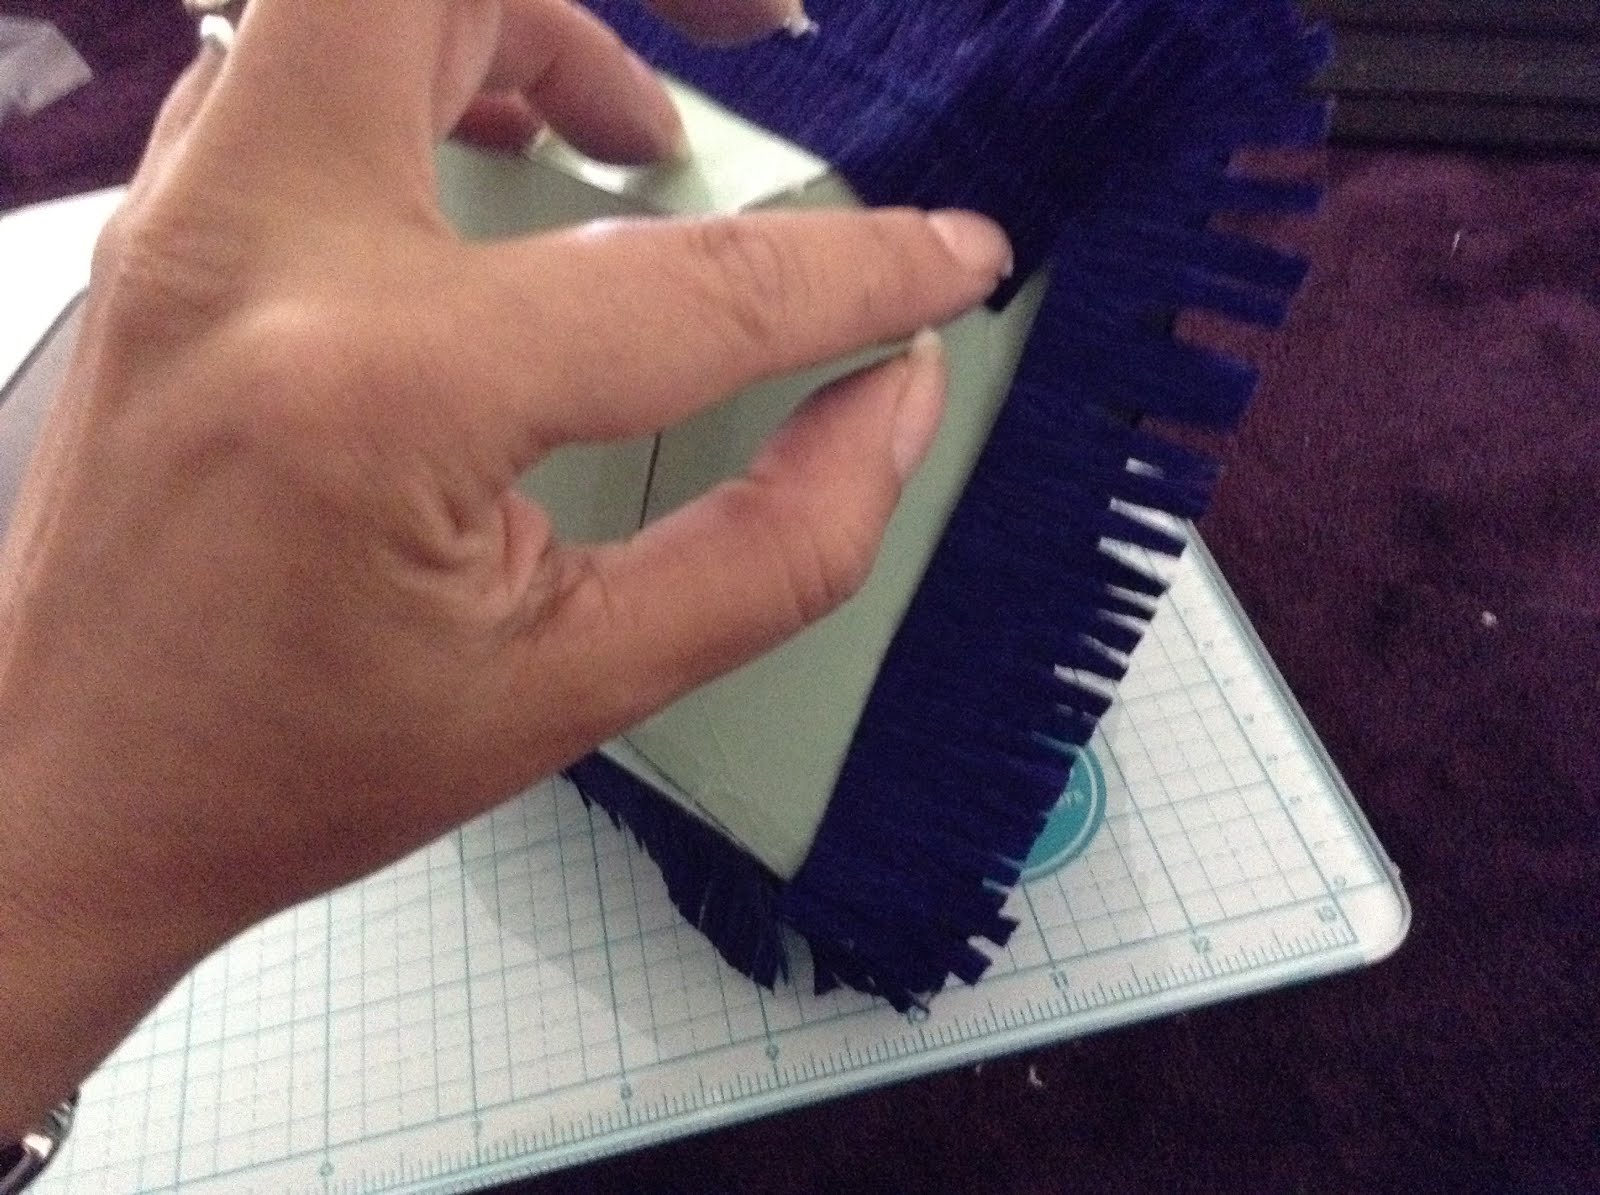


Now we need to install the Burlap rope so we can hang our creation before covering the top of the diamond box:
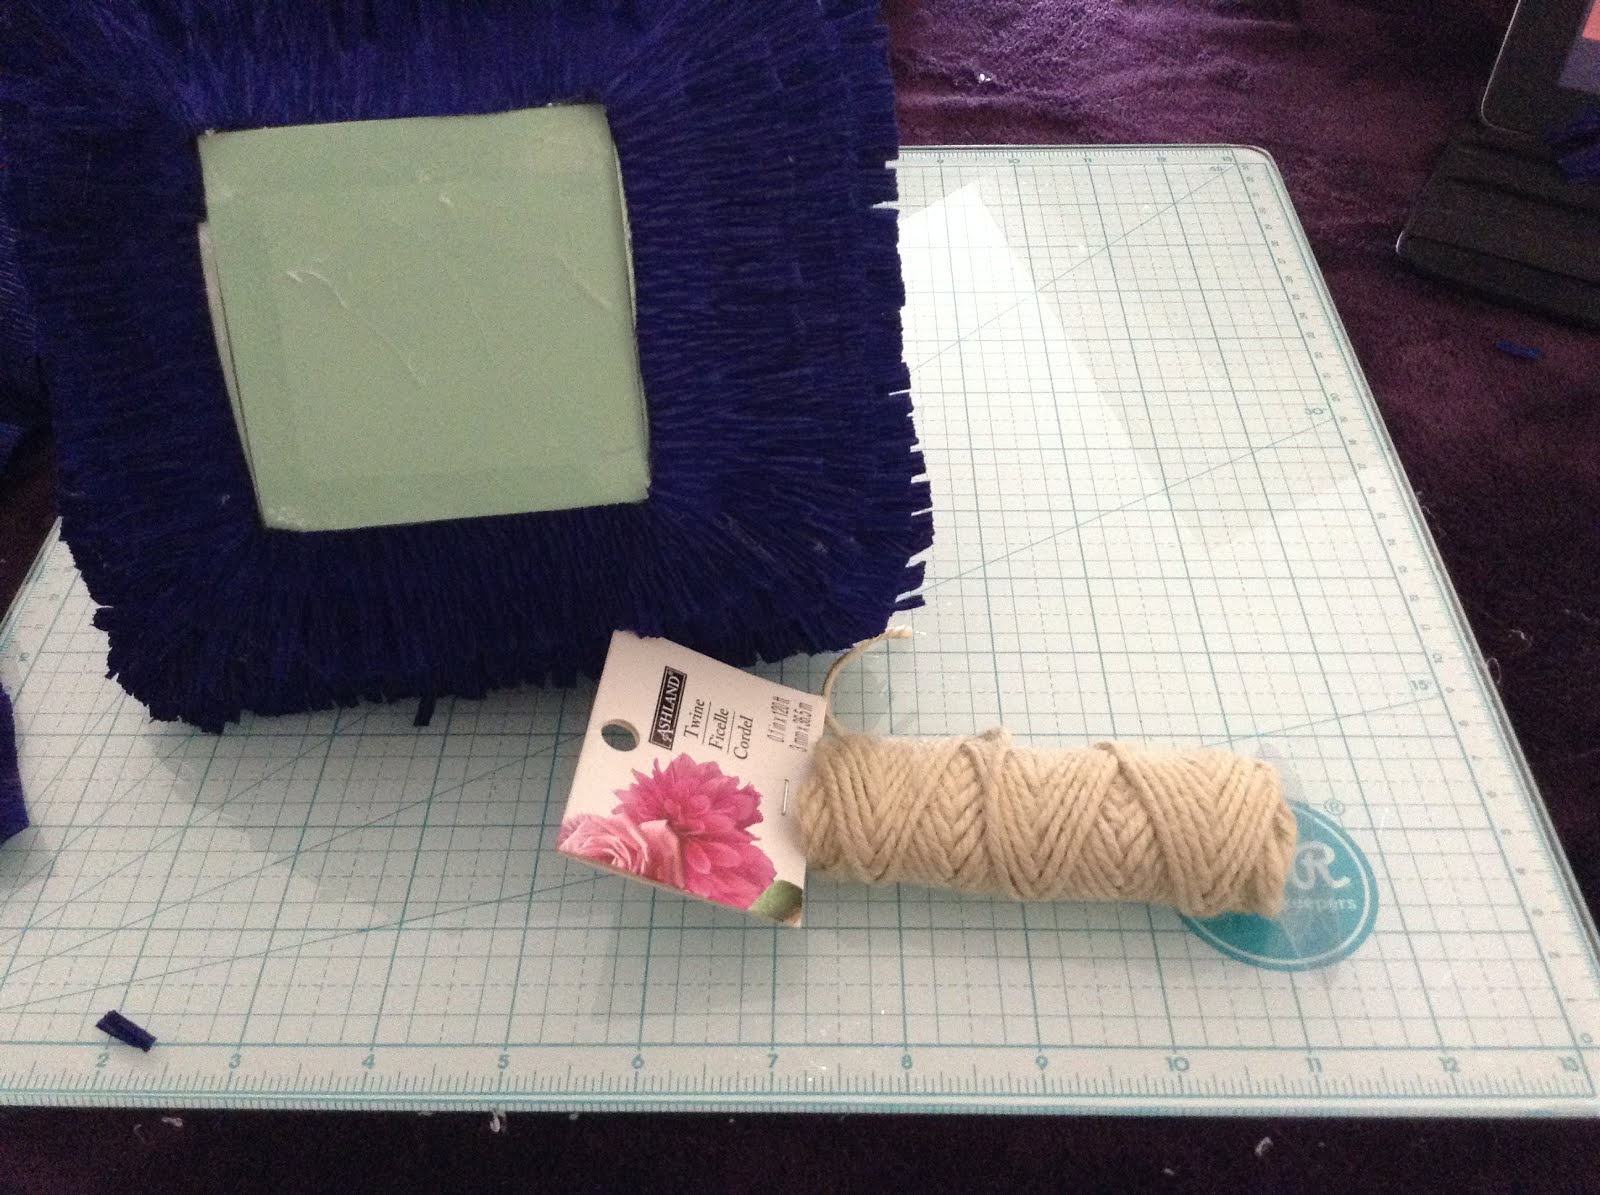
Cut 5 feet of the Burlap rope and use the glue gun to glue on end of the rope to the middle of the top section of the diamond box:

It is time to cover the top of the diamond box. I'm showing this step of the project when I was finishing up the red diamond box. As you are placing the crepe paper on top of the diamond box, you want to place a line of glue on the box and stick the crape paper on it:

Once you are done, cut the excess crape paper. Congratulations!!! You just completed your first diamond box. You are ready for the next one. Remember that you can use different size card stock to make smaller or larger crape paper diamond boxes. Once you are finished, you can place them next to each other:


Please visit my website RoyasCreation.com to view some of my work.
Have a happy and safe 4th of July!!!


